When it comes to managing data and numbers, Google Sheets is like your trusty digital Swiss Army knife. But don’t worry if you’re not tech-savvy. In this guide, we’ll break down Google Sheets into bite-sized pieces, using analogies and examples that everyone can understand.
What is Google Sheets?
Imagine Google Sheets as a virtual paper where you can organize and calculate your data. It’s like a digital notebook, but way smarter. Instead of a physical sheet of paper, it’s all stored in the cloud, which means you can access it from anywhere with an internet connection.
How Does It Work?
Think of Google Sheets as a giant grid of rows and columns, just like a table. Each intersection of a row and column is called a cell, and you can put anything you want in these cells – numbers, text, dates, or even formulas.
Pro Tip: It’s like filling in the blanks of a crossword puzzle, but with numbers and words.
Basic Terminology
Before we dive into Google Sheets, here are a few key terms that you will hear regularly throughout this article:
- Cell: The boxes in the grid where you enter data.
- Row: A horizontal line of cells.
- Column: A vertical line of cells.
- Formula: A set of instructions for Google Sheets to perform calculations.
- Function: A pre-made formula for common tasks, like adding numbers or finding averages.
Creating Your First Spreadsheet
With the basic terminology out of the way let’s get stuck into google sheets.
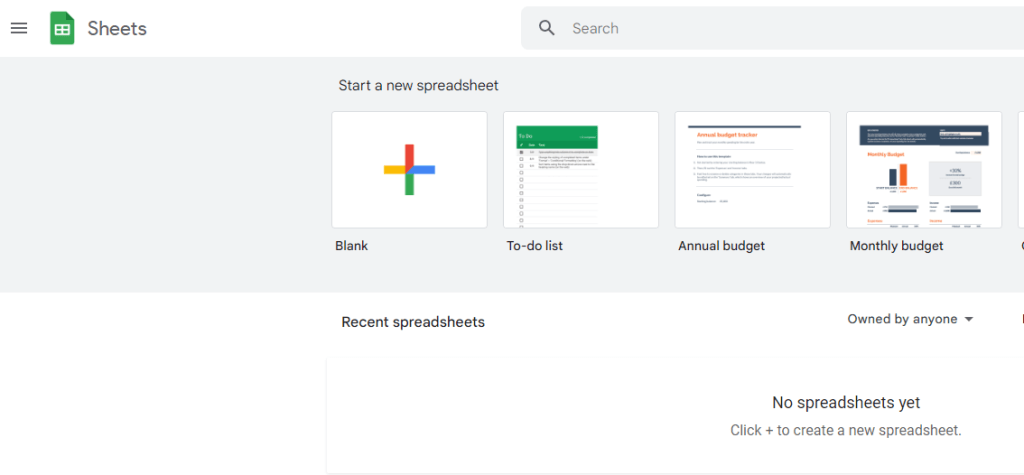
To get started go to sheets.google.com and sign in with your Google account.
To create a new blank spreadsheet click on the “+” button or choose “Blank” to start from scratch.
Entering Data
Now that you have a blank canvas, you can start entering your data:
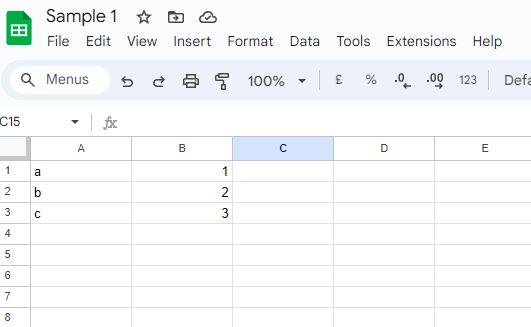
Start by giving your sheet name by clicking up the top left where it says Untitled spreadsheet and entering an appropriate name.
To start entering data simply select a cell by clicking on it, and just start typing. It’s that easy!
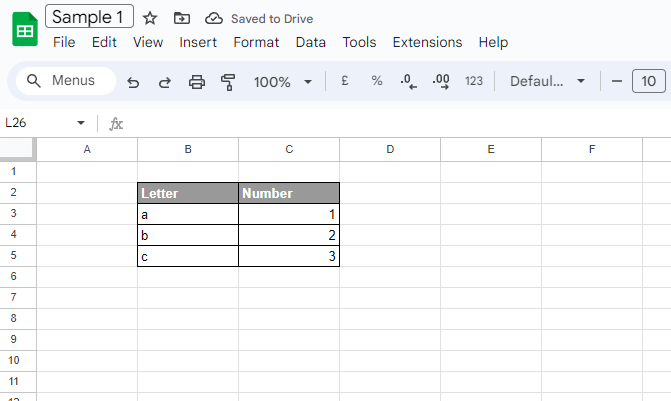
Formatting Cells
Formatting makes your spreadsheet look clean and organized, some examples of what you can do include:
- Bold and Italics: Like in a word processor, you can make text bold or italic.
- Borders: Draw lines around cells to separate data.
- Color: Highlight cells with different colors.
Performing Basic Calculations
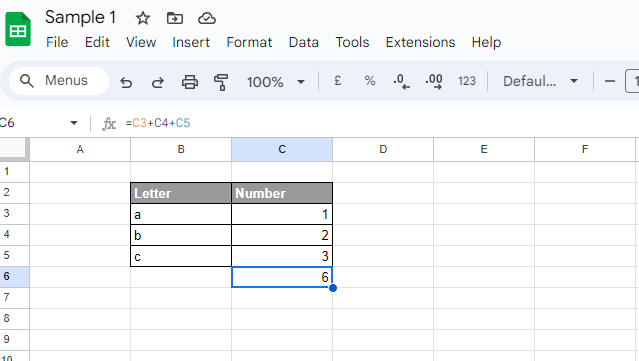
You can perform some basic calculations with ease. Let’s say you have a list of numbers, and you want to add them up.
Click the empty cell where you want the results to be displayed. Press = which tells Google Sheets you want to enter the formula.
Click the first cell you want to add and then press + followed by the next cell. So in the case below, we wanted to add up cells C3, C4, and C5 the formula will display =C3+C4+C5
Once you have selected all the cells you wish to add up hit the Enter key, and Google Sheets will do the math for you. The cells you select can be anywhere on the sheet.
Using Functions
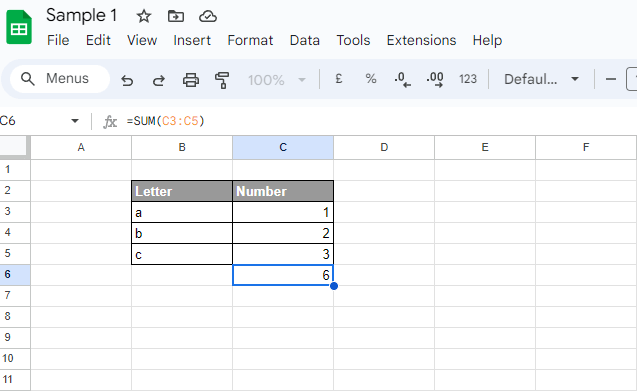
Functions are like magic spells for your data. There are many different functions from the very simple to the more complex. To start with let’s modify the previous section to use the SUM function.
To begin click on the cell you wish to display the result in this case C6. Like before type = to let Google Sheets know you’re entering a formula.
Type “SUM(” and then highlight the range you wish to total up in this case From cell C3 to C4. Finish by Typing a close bracket”)” and hitting enter.
Now watch as the magic happens! The result will be the total of the highlighted cells.
Charts and Graphs
Data is more fun with visuals. You can create charts from your data.
So do this Highlight the numbers and the corresponding headings you want to visualize.
At the top, select the “Insert” menu and then “Chart.”
A chart will appear and on the right the “Chart Editor” will appear. From here under “Setup” you can pick from various options, like bar charts, pie charts, or line graphs.
Once you have picked the type of chart go to “Customise” and you can adjust labels, colors, and titles to make it look just right.

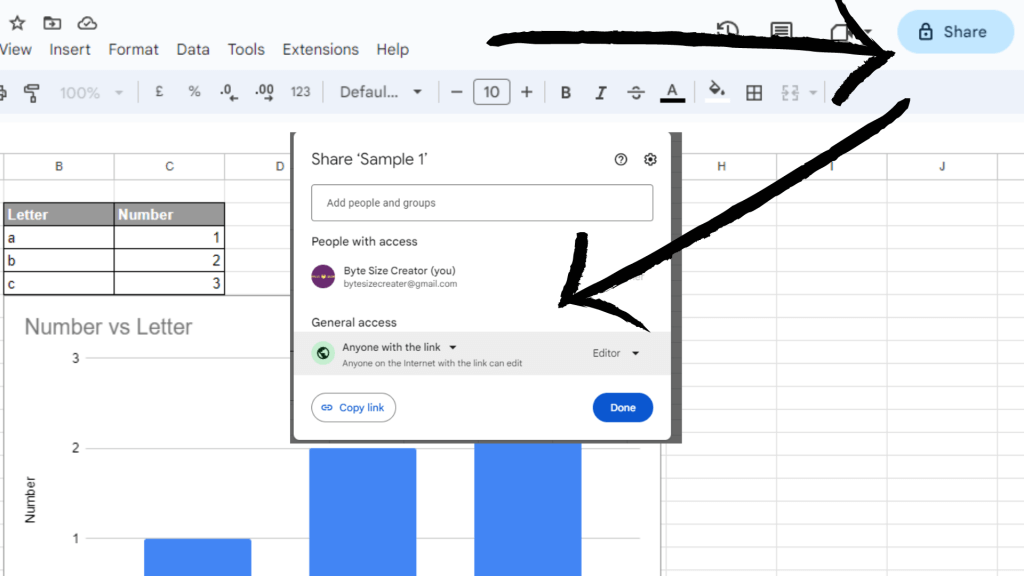
Collaboration and Sharing
Collaborating and Sharing your spreadsheet is a piece of cake!
In the top-right corner, click the “Share” button. Ender in the email address of the people you want to share with.
Make sure to specify their permissions. You can give the view or editor access.
Once you click done the user will receive an email notifying them of the shared sheet. The great thing is due to the cloud nature of Google Sheets you will both be able to modify the document and collaborate in real time!
Tips and Tricks
There is so much more to google sheets than we have covered in the scope of this article. Keep an eye out for more articles on some of the other functions.
Here are a few other tips and tricks that will assist you while navigating the Google Sheets:
Auto-fill: Drag the small square in the bottom-right corner of a cell to copy its content across multiple cells.
Undo and Redo: Did you make a mistake? Use Ctrl+Z (Windows) or Command+Z (Mac) to undo—Shift+Ctrl+Z or Shift+Command+Z to redo.
Keyboard Shortcuts: The Undo and Redo shortcuts are just some handy keyboard shortcuts to speed up your work. You can find many more Google Sheet shortcuts in this article by Google Keyboard shortcuts for Google Sheets.
Congratulations! You’re now equipped to confidently dive into the world of Google Sheets.
Hey, it’s Nicole! A tech enthusiast with over two decades of immersive exploration into the ever-evolving world of technology. From delving into the intricacies of AI and navigating the realm of apps to unraveling the mysteries of blockchain, dissecting gadgets, and indulging in the world of gaming – my journey has been nothing short of exhilarating.
My mission? It’s simple: I’m here to demystify technology and make it accessible to everyone. Whether you’re a tech novice taking your first steps into the world of AI or a seasoned enthusiast seeking the latest gadgets, consider me your guide.
Join me on this thrilling expedition through the digital landscape, where we’ll explore, learn, and conquer together. Let’s transform the world of tech into your personal playground!